Backpacking Gear That Actually Works
Welcome, fellow trail wanderers 👋
If you’re gearing up for your next overnight adventure (or maybe your first), you’re in the right place. Welcome to Step by Step: Gear That Actually Works – a resource I wish I had when I first started exploring the backcountry.

I’ve been adventuring through wild places across the U.S. and beyond for over 20 years. From weekend trips in the Cascades to multi-week routes across the US, Europe, and Asia – and even a 5-month thru-hike of the Pacific Crest Trail – I’ve logged a lot of trail miles, slept under countless stars, and made just about every hiking and backpacking mistake you can think of (so you don’t have to).
My goal isn’t to overwhelm you with options or tech specs. This quick guide is here to help you cut through the noise, avoid the gimmicks, and confidently choose gear that works – whether you’re gearing up for your first backcountry overnight trip or refining your current kit. I want to help you get outside comfortably, confidently, and with fewer frustrations along the way.
I won’t pretend I’ve tried every item on the market (that would take a lifetime and a bottomless wallet), but everything I recommend below is either gear I’ve used extensively myself or trusted pieces my trail buddies and I relied on during our many adventures.


But before we get into the nitty-gritty, let’s take a quick detour to talk about gear costs – because let’s be real, this stuff adds up. When I was just getting into backpacking, I pieced things together however I could – using random stuff I already owned, renting, borrowing from friends, keeping an eye out for sales. I even checked in with Santa once, and turns out he’s a big fan of a well-crafted gear wishlist. So if that’s where you’re at, you’re not alone. Don’t be afraid to start scrappy. You don’t need to have the perfect setup right away. The most important thing is to get out there and start making those memories.
Here are some simple ways to keep your gear costs down in the long run:
Rent before you buy. If you’re trying something new or aren’t sure what will work for you, renting gear is a great way to test it out without committing to a big purchase. Many outdoor stores offer rentals for everything from tents to sleeping bags.
Buy once, cry once. If you can, invest in quality gear from trusted brands. No lie, the price might sting a little at first, but good gear from reliable brands can last for years and often comes with solid warranties or repair programs. This said, not everything in your kit needs to be top-shelf. Spend more on items that affect your safety or comfort, such as your backpack, tent, sleeping system, and footwear, and go budget on accessories like dry bags, stuff sacks, or camp cutlery.
Pick the right shop. Look for places that have a wide range of options and a good return policy. (REI or Backcountry in the US, MEC in Canada)
Time it right. If you’re not in a rush, keep an eye out for sales. Every outdoor retailer runs sales, usually around holidays, and they can save you a lot of money if you time it right. Keep an eye out for the big ones like Memorial Day, Black Friday, or end-of-season clearances.
Just a heads-up before we start: this Step by Step: Gear That Actually Works guide includes a few affiliate links. That means if you decide to buy something through one of them, I might earn a small commission, at no extra cost to you. Every bit helps me keep creating helpful content like this and supports my small business. If you do use the links, thank you! I seriously appreciate the support.
Step by Step: Gear That Actually Works
BACKPACK


ULA Catalyst -The ULA Catalyst is my top pick. With 75L capacity, a supportive internal frame, and a total weight under 3 pounds, it’s built to carry everything you need – comfortably and efficiently. I’ve taken mine on every hike and backpacking trip since 2018, and I still can’t believe how well it handles the load. Add in durable materials, smart pocket design, and thru-hiker-approved reliability, and you’ve got a pack ready for any adventure.
Osprey Aether – Osprey Aether is another solid choice. I hiked with this pack for 6 years, and its durability is unmatched – it handled everything from rugged summer trails to snowy winter treks. The strap system is one of my favorite features; it made attaching a tent, sleeping pad, or even snowshoes effortless. It’s incredibly comfortable under load and built to last, but the trade-off is its weight – coming in at nearly 5 pounds, it’s on the heavier side compared to the more minimalist ULA.
SLEEPING SYSTEM
TENT

MSR Hubba Hubba 2P – The MSR Hubba Hubba LT 2-person tent is a great option for your backpacking adventures! You’ll love how lightweight it is (3lbs 6 oz), and its easy and quick setup means you’ll be out of the elements and relaxing in no time.
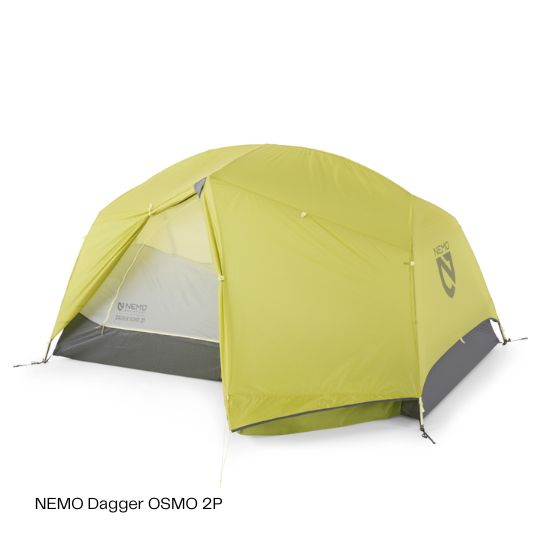
NEMO Dagger OSMO 2P – The NEMO Dagger OSMO 2P is another fantastic choice. Weighing 3 lbs 15 oz, it’s a bit heavier than the Hubba Hubba, but it offers extra headspace. Setup is also a breeze, and with its two large vestibules and dual doors, you’ll have plenty of room for gear and easy access. It’s a truly comfortable and versatile trail home
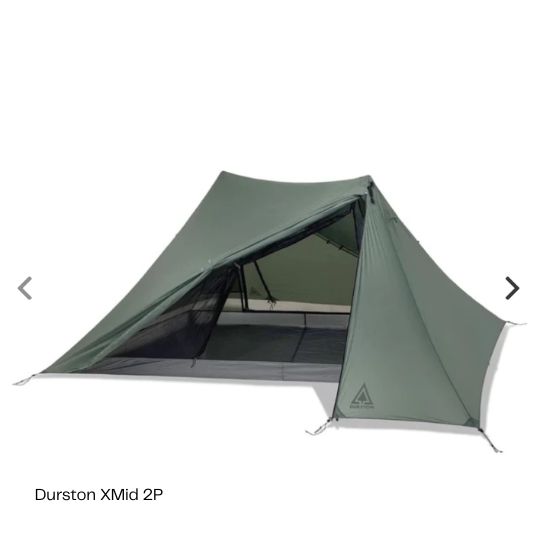
Durston X-Mid 2P - The Durston X-Mid 2P is our current go-to tent. It is incredibly light (1 lb 10 oz) and it offers seriously roomy interior and massive vestibules that easily swallow all your gear, keeping it dry and organized. However it's not a freestanding tent and it relies on your trekking poles for setup, which took us a little practice to master.

For me, this setup makes the most sense for when you're setting and breaking camp every single day, such as when thru-hiking. If you're on a trip where you plan to set up your tent and then head out for some side explorations or peak bagging, a freestanding tent might be a better option. You won't need to dedicate your trekking poles to the tent, leaving them free for your adventures.

Pro tip: Even if you're usually backpacking solo, I recommend getting the 2-person version. The extra room inside makes a huge difference for spreading out your gear (or just stretching out!). And with two side doors, you'll never have to awkwardly climb over your pack (or your tent buddy!). It's a perfect blend of easy packing and amazing comfort on the trail!
SLEEPING BAG

Feathered Friends Flicker - Unlike traditional mummy bags, a quilt opens up like a blanket and lets you adjust it to match the conditions. Cold night? Cinch it tight like a sleeping bag. Warmer temps? Open it up and sprawl. The Flicker adds even more versatility with a full-length zipper and drawstring footbox, so you can go from quilt to bag in seconds. It’s cozy, ultralight, and built with premium down for serious comfort in the backcountry.
My boyfriend has been using the Flicker since 2017, and it’s held up incredibly well through years of adventures. If I were in the market for a new bag, this would be my top pick.
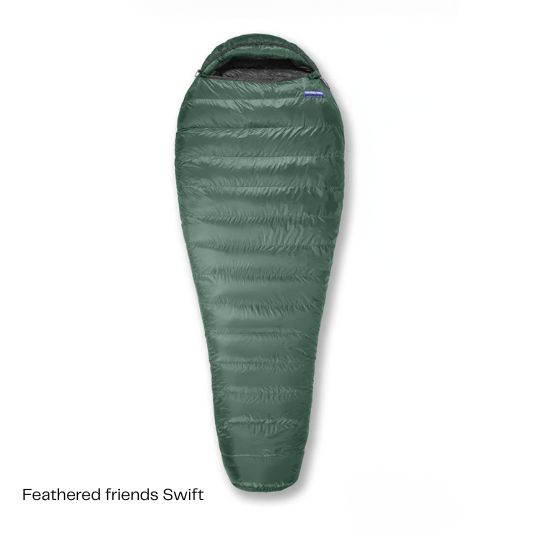
Feathered Friends Swift - The Swift is a classic mummy-style sleeping bag. It is the updated version of the bag I’ve been using since 2011 on nearly every adventure from spring through fall. It’s warm, reliable, and built to last.
What I’ve always loved about the Swift is the generous width. Unlike other mummy bags that can feel tight and restrictive, this one gives me enough room to move without sacrificing warmth. If you want a high-quality sleeping bag that’s comfy, durable, and trail-tested over years of use, the Swift is a solid choice.
Both the Flicker and the Swift come in 20° and 30°F versions. Dave and I use the 30° bags, and they’ve kept us plenty warm through our three-season adventures. But if you’re a super cold sleeper or planning to spend significant time at higher elevations, the 20° version might be the better choice for you.
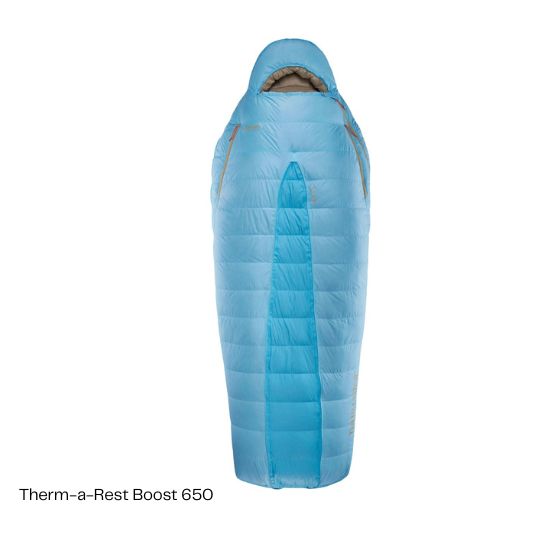
Therm-a-Rest Boost 650 - If the premium price tags on Feathered Friends or Western Mountaineering bags aren’t in your budget, the Therm-a-Rest Boost 650 is a great alternative. I haven’t personally used it, but I’ve heard good things, and the reviews back it up.
It’s lightweight, filled with 650-fill down, and packs small, perfect for three-season adventures without breaking the bank. A solid choice if you're looking for quality on a budget.
SLEEPING BAG LINER
I always pack a sleeping bag liner. It helps keep my sleeping bag clean, which means I don’t have to wash it as often. That prolongs its life and helps maintain its warmth and loft over time. Plus, a liner adds a bit of extra warmth on chilly nights without adding much weight. Definitely worth it.

Sea to Summit Silk Blend Liner – The style I’ve been using for the past 10 years has recently been discontinued, and this silk-blend liner is its replacement. It’s lightweight, packs down small, and feels great against the skin after a long day on the trail. A simple upgrade that adds comfort, warmth, and keeps your sleeping bag cleaner for longer.
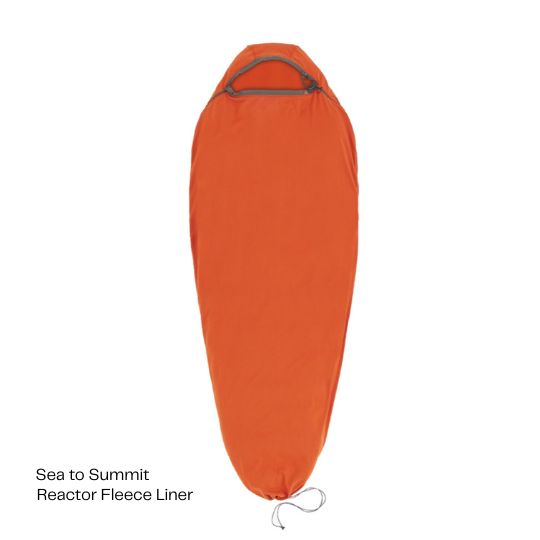
Sea to Summit Reactor Thermolite Extreme – The Reactor Thermolite Extreme is your go-to when you need extra warmth. It adds a noticeable temperature boost to any sleeping bag and is perfect for shoulder seasons or cold sleepers. It’s soft, stretchy, and cozy, making chilly nights way more comfortable.
SLEEPING PAD
When choosing a sleeping pad for backpacking, start with the R-value. This tells you how well it insulates. For most three-season trips, an R-value of 2.5–4 works well. If you’re heading into colder temperatures (for example snow camping) or sleep very cold, look for 5+. Also consider the size and shape: standard pads work for most, but long, short, or wide options might suit your body better. And don’t forget packability – some pads compress down tiny, while others can eat up valuable pack space.


NEMO Tensor – I’m not a fan of mummy-shaped pads. They’re generally a bit lighter, but I often find my legs sliding off during the night. So when NEMO introduced the Tensor a few years ago, I was curious. Now, after 5 years of using it, I can confidently say it’s the most comfortable pad I’ve ever tried. It’s quiet, supportive, and the rectangular shape makes a huge difference in how well I sleep on the trail.
Therm-a-Rest Neo Air XLite – This is the pad that saw us through the entire PCT. It’s ultralight, packs down small, and it kept us warm through all kinds of terrain and conditions. While I eventually switched to the NEMO Tensor for a bit more comfort, my boyfriend uses the NeoAir to this day. Reliable, lightweight, and built for big miles.
NEMO Switchback – The NEMO Switchback is a closed-cell foam pad – not inflatable – so it’s thinner and less cushy. I’ve taken plenty of naps on it, but for me, it’s not comfortable enough for a full night’s sleep. That said, I still carry it on trips. It’s a solid backup in case my inflatable pad gets punctured, it doubles as a sit pad during breaks and around camp, and since R-values are cumulative, I can layer it under my main pad for extra insulation in unexpected cold conditions. Lightweight, versatile, and a great piece of insurance.
CAMP PILLOW
I’ve found that using a camp pillow makes a noticeable difference in how well I sleep outdoors. It’s one of those little luxuries that’s totally worth it for me. But if you’re on a budget or packing ultra-light, no worries – you can easily make a DIY pillow by stuffing spare layers into a stuff sack or dry bag. Either way, having some head support can seriously improve your sleep on the trail.

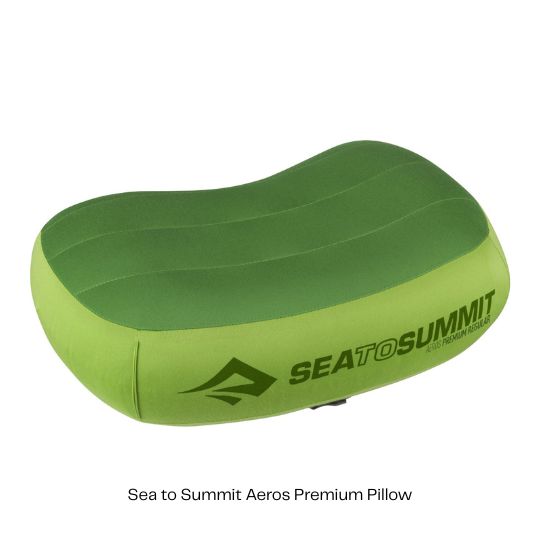
Sea to Summit Aeros Ultralight Pillow – This is the pillow I use on the trail, and I love it. The Aeros Ultralight is super lightweight and packs down smaller than your fist, but still gives just enough support for a good night’s sleep.
Sea to Summit Aeros Premium Pillow – Compared to the Ultralight version, the Aeros Premium offers more cushioning and a softer brushed fabric that feels great against the skin. It’s still compact but a bit heavier, but if you prioritize comfort over shaving every gram, it’s a nice step up. Perfect for side sleepers or anyone who wants a bit more luxury at camp.
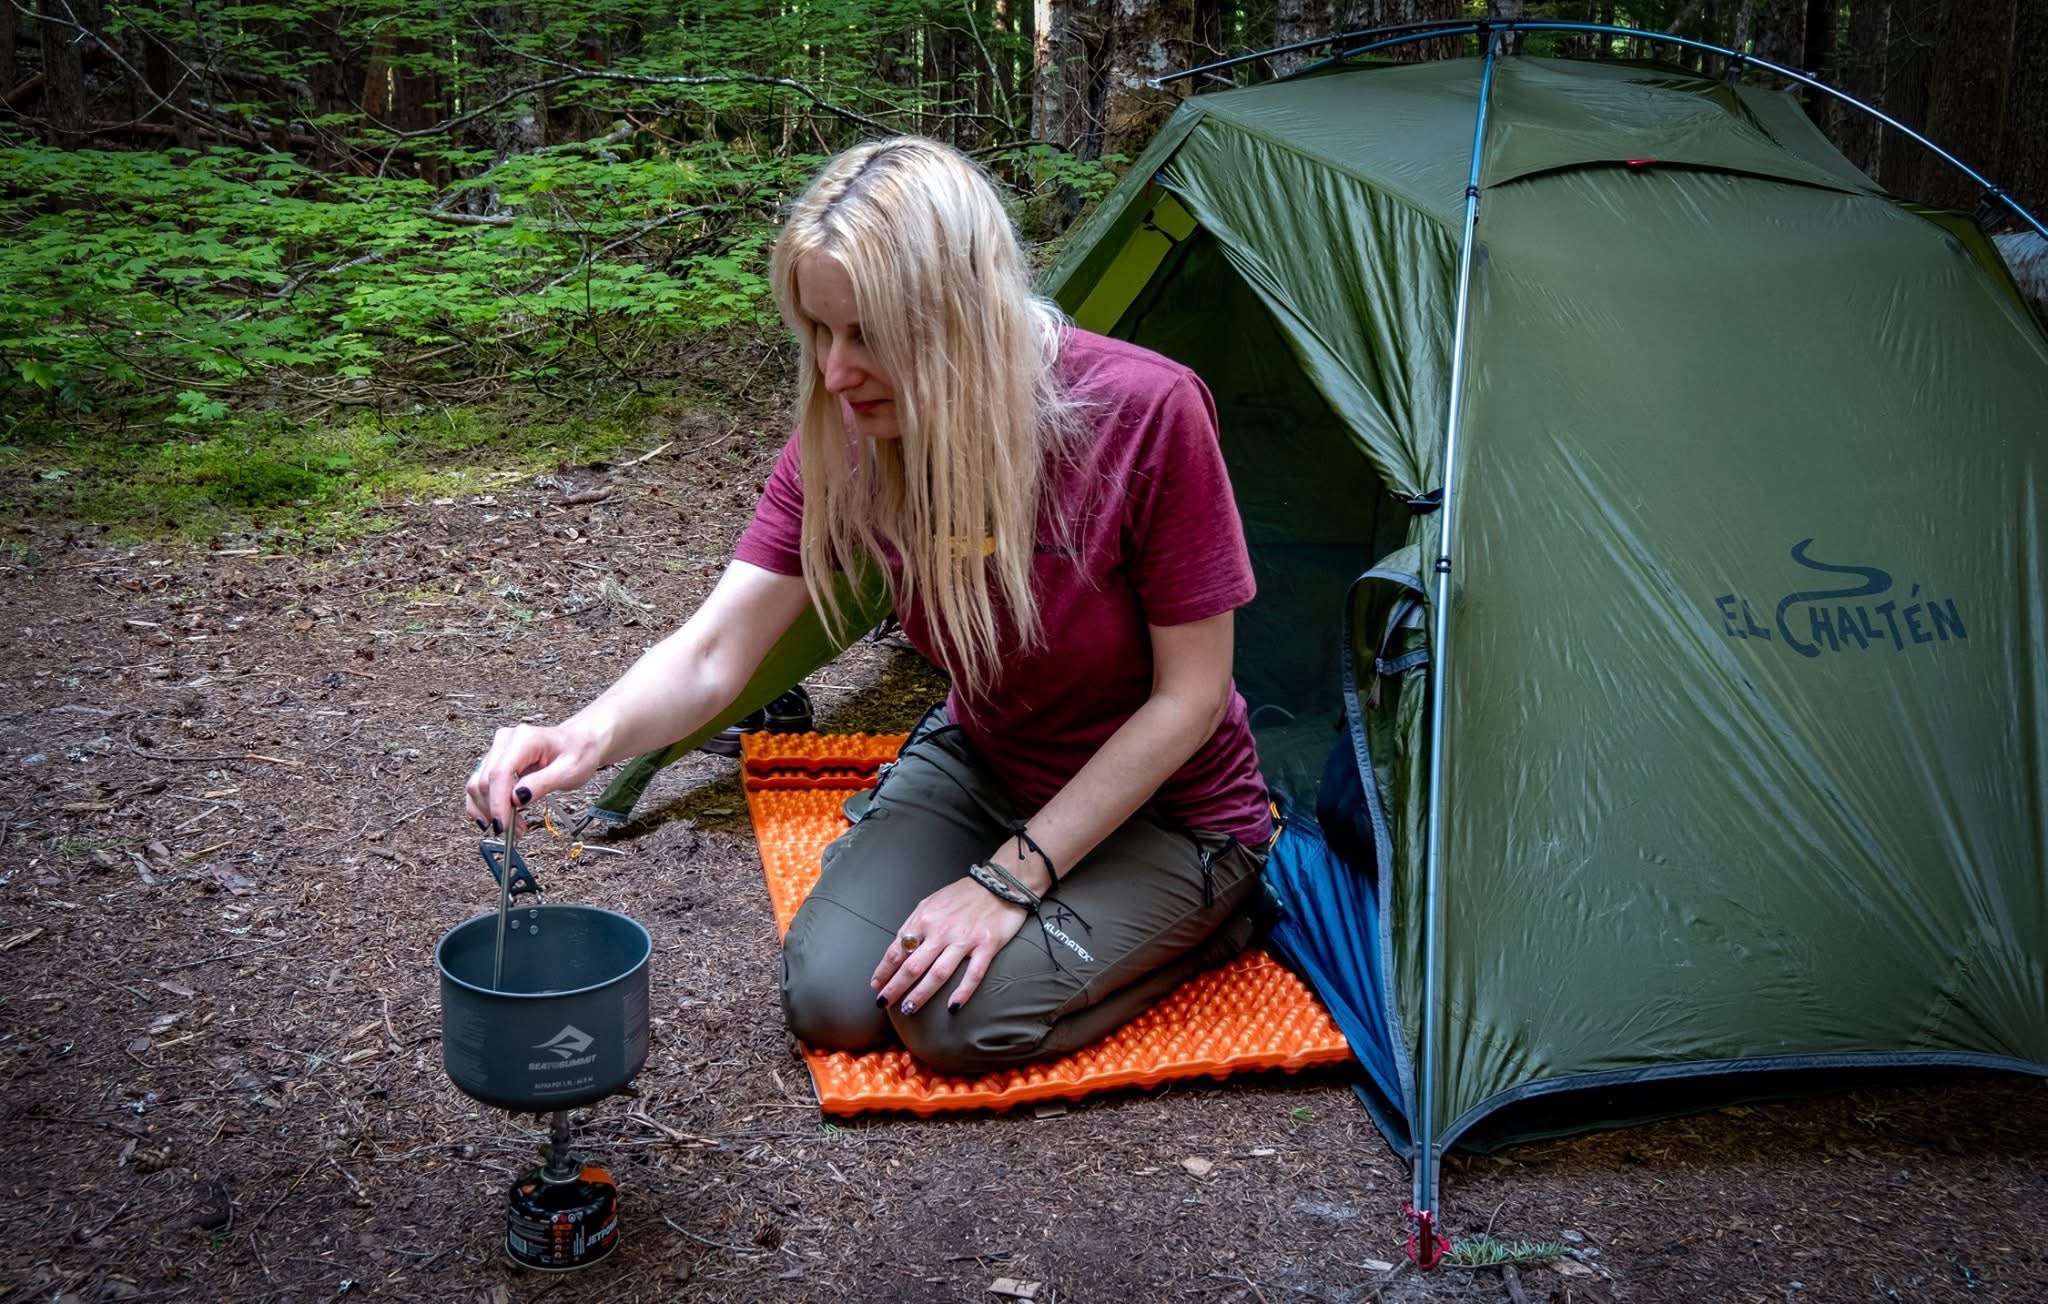
CAMP KITCHEN
STOVE


Soto Windmaster – The SOTO WindMaster is the stove we use, and it’s been incredibly reliable in all conditions. It’s popular for a reason – it is lightweight, fuel-efficient, and designed to perform even in windy weather. The push-button ignition is super reliable, and unlike many ultralight stoves, it simmers really well, which is great when you’re not just boiling water.
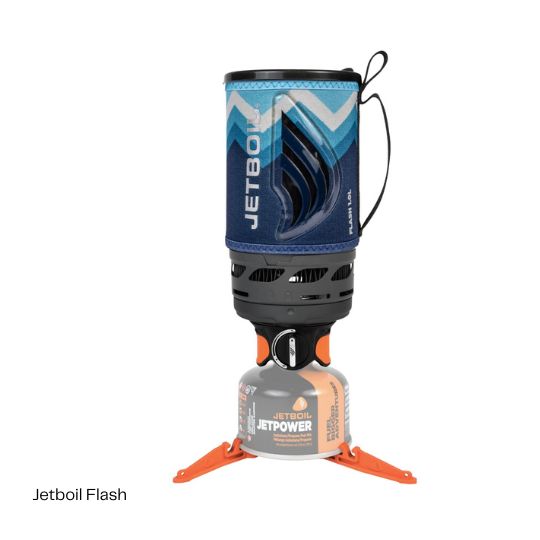
Jetboil Flash – The Jetboil Flash is a great option if your main goal is to boil water quickly for dehydrated meals or warm drinks – which is exactly what we used it for on many trips. It’s super easy to use, fuel-efficient, and boils water incredibly fast. The downside? It doesn’t have a fuel regulator, so there’s no simmer control, making it less suited for anything beyond boiling water. But if speed and simplicity are your priorities, the Flash delivers.
MSR PocketRocket 2 – The MSR PocketRocket 2 is another great option for backpackers looking for a lightweight, reliable stove. It’s super compact, boils water fast, and has impressive simmer control for such a small setup.
All three of these stoves are canister stoves, which means you’ll need to use isobutane/propane fuel canisters . There are a few brands out there, and the ones I’ve used most are Jetboil Jetpower, SnowPeak GigaPower, and MSR IsoPro. Honestly, I haven’t noticed much difference between them, so I usually just go with whichever one is cheapest or easiest to find.
COOKING POT

Sea to Summit Frontier Ultralight 2L – The Frontier Ultralight Pot comes in 1.3L, 2L, and 3L sizes. We use the 2-liter version, which is perfect for cooking rice or pasta dishes, or boiling enough water for two dehydrated meals and two hot drinks. We also love that it’s just the right size to fit our stove and fuel canister inside, saving valuable space in our packs. Lightweight, efficient, and trail-ready.
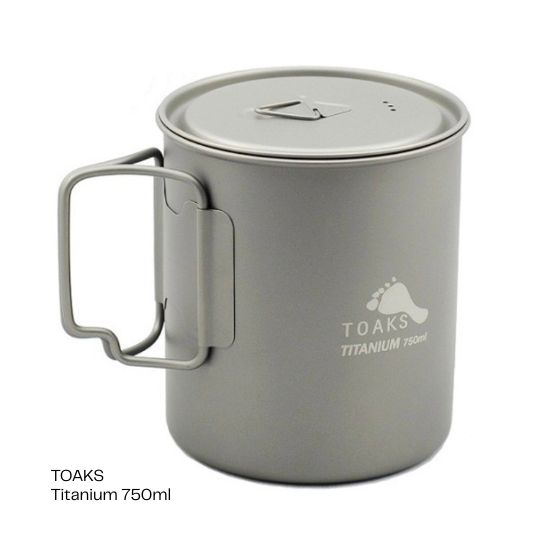
TOAKS Titanium 750ml – The TOAKS Titanium 750ml pot is a great choice for solo hikers or ultralight backpackers who mostly just need to boil water for one meal and a hot drink. It’s super lightweight, durable, and can double as a mug – perfect for keeping things simple. Compared to the Sea to Summit Frontier 2L, it makes more sense if you’re hiking solo, counting every gram, and don’t need to cook larger meals or boil water for two.
DINNERWARE
We stick with titanium dinnerware over plastic for a few key reasons. It’s more environmentally friendly, free from harmful chemicals, and incredibly easy to clean, even with limited water. Plus, it’s lightweight, durable, and built to last—perfect for life on the trail.


Snow Peak Titanium 450 Mug – This Snow Peak Mug is our go-to for morning coffee and evening tea on trail. It’s ultralight, durable, and doesn’t retain flavors or odors, which we love. You can drink straight from it or even use it to heat water – simple, efficient, and built for years of adventure.
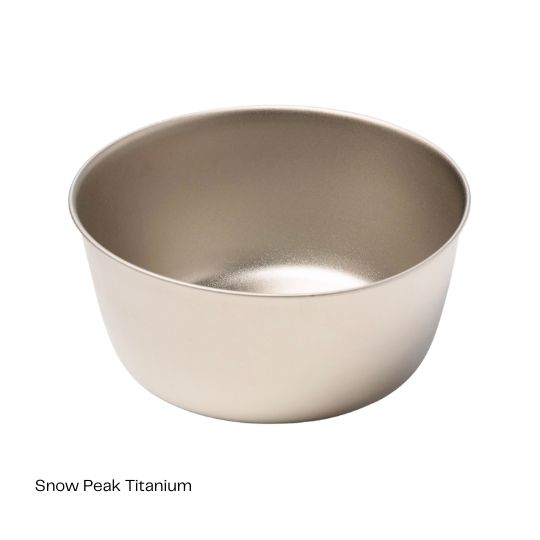
Snow Peak Titanium Bowl – The Snow Peak Titanium Bowl is lightweight, tough, and perfect for trail meals, but whether you need one really depends on your cooking style. If you usually pour hot water straight into a dehydrated meal pouch, you might not need a bowl at all. But if you’re cooking from scratch, sharing meals, or just prefer a dedicated eating vessel, this one’s a solid, no-fuss option that’ll last forever.
TOAKS Titanium Spoon – The spoon I use was discontinued few years ago, but the TOAKS Titanium Spoon is nearly identical in design—and just as good. The long handle is a game changer: it lets you reach the bottom of deep meal pouches without getting your hands messy, and makes it easy to stir food in tall pots without getting too close to the heat.
WATER FILTER


Platypus QuickDraw Water Filter – We picked up the Platypus QuickDraw just last year, and it quickly became my favorite water filter. The wide-mouth bag makes it super easy to fill, even from shallow streams, and the built-in handle gives you a solid grip while collecting water. It’s fast, simple, and has made trail hydration way less frustrating.
Sawyer Squeeze Water Filter – The Sawyer Squeeze is the filter we used on the PCT, and it served us well for the entire trail. It’s a bit cheaper than the QuickDraw and just as effective at filtering water. The main difference? The Sawyer bags aren’t as easy to fill—the QuickDraw’s wide-mouth and handle make that process much smoother. Still, if you’re looking for a reliable, lightweight, and affordable option, the Squeeze is a proven choice.
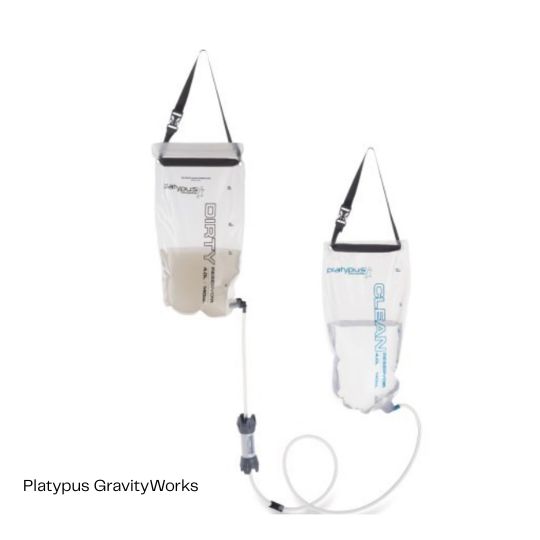
Platypus GravityWorks Water Filter – The Platypus GravityWorks is a gravity filter, which means, unlike squeeze filters, you don’t need to apply pressure to get clean water. Just fill the dirty water bag, hang it up, and let gravity do the work while you handle camp chores or just relax. It’s especially great if you’re camping near a water source and need to filter larger volumes for cooking or a group. Simple, efficient, and perfect for low-effort water filtering.
WATER STORAGE
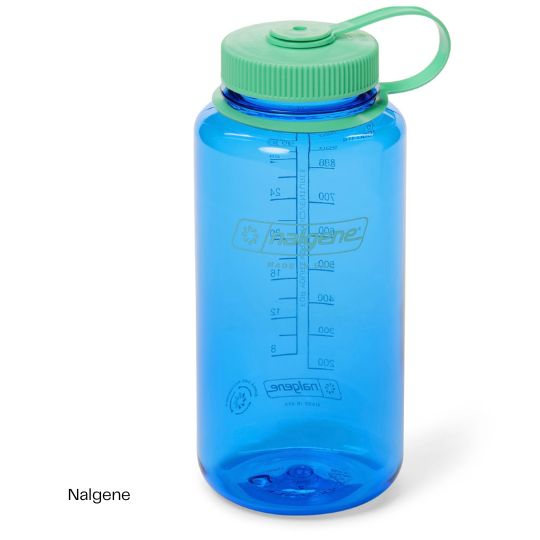

Nalgene Water Bottle – I usually don’t carry a Nalgene because of its weight, but I have a lot of friends who love them for their durability and wide mouth. The one time I do bring it is when I’m expecting cold overnight temps, like during snow camping, because you can safely pour hot water into it and use it as a sleeping bag warmer.
HydraPak Seeker Water Container – The HydraPak Seeker 3L is my go-to for storing extra water in camp or carrying water when we’re not camping right next to a source. It’s lightweight, durable, and packs down small when empty. Super handy for dry camps or group trips where you need a bit more water on hand.
FOOD STORAGE
Storing food properly in the backcountry is key for keeping wildlife safe and your meals intact. Depending on where you’re hiking, that might mean using a bear canister, Ursack, or hanging your food. Always store food away from your tent, and don’t forget to include toiletries and trash—anything smelly counts! It’s all about minimizing impact and making sure future hikers (and animals) stay safe.
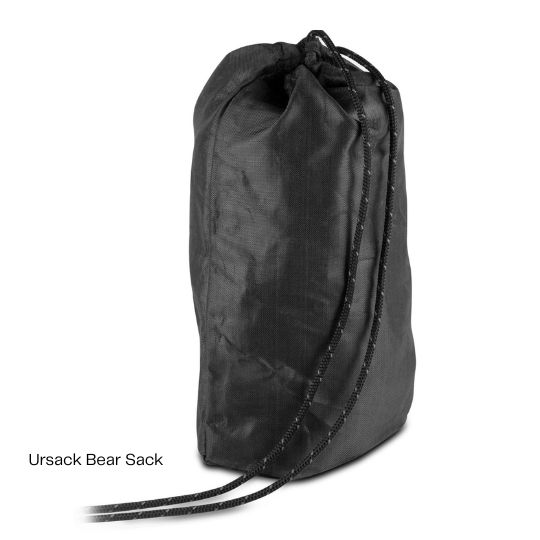

Ursack Bear Sack 10l – The Major Bear Sack is the food storage solution I use most often. It’s lightweight, durable, and designed to be animal-resistant, making it a great alternative to heavier bear canisters in areas where they’re not required. I love that it packs down small when empty and still gives me peace of mind at night. Just pair it with a proper odor-proof liner and secure it away from camp – simple and effective.
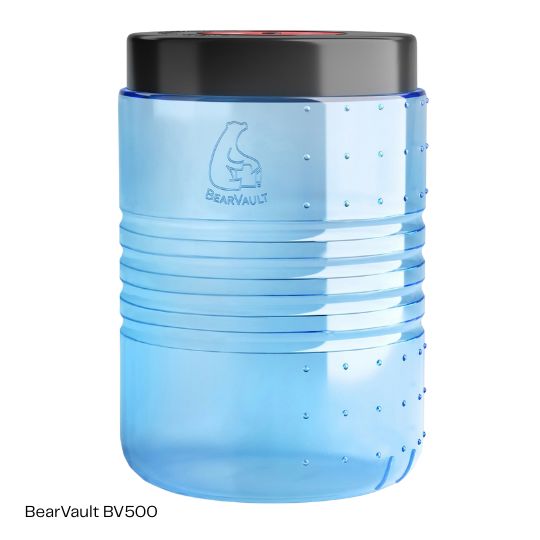
BearVault BV500 – The BearVault BV500 is a solid, bear-resistant food container. Both my boyfriend and I each have one. It’s spacious enough to hold a week worth of food for one person, and for shorter trips, we can easily share one between the two of us. While it’s bulkier and heavier than a bear bag, it’s required in many areas and gives reliable peace of mind. Plus, it doubles as a great camp stool!
BearVault BV450 – If you’re mainly doing shorter trips, the BearVault 450 will be ideal for you. It’s lighter and takes up less space and it comfortably accommodates supplies for 2-3 day adventures.
Pro Tip: I’ve found the most comfortable way to carry a bear canister – especially the BV500 – is horizontally inside my backpack, positioned close to my back, ideally at the small of the back just above the hip belt. This helps distribute the weight evenly and keeps it centered, which is especially important for maintaining stability on uneven terrain.
However, not every backpack is designed to fit the BV500 horizontally. If you plan to backpack in areas where a bear canister is required, this is something to consider when choosing your pack. Both backpacks I mentioned at the beginning of this guide accommodate the BV500 horizontally, which makes packing and carrying it much more manageable.
OTHER ESSENTIAL GEAR
SAFETY

Garmin inReach Mini – The Garmin inReach Mini is a compact satellite communicator that keeps you connected even when you’re far from cell service. With two-way messaging, location tracking, and SOS capabilities, it’s a powerful safety tool for backcountry adventures. It’s lightweight, reliable, and provides peace of mind for you and your loved ones. Just note: it does require a satellite subscription to use its communication features.
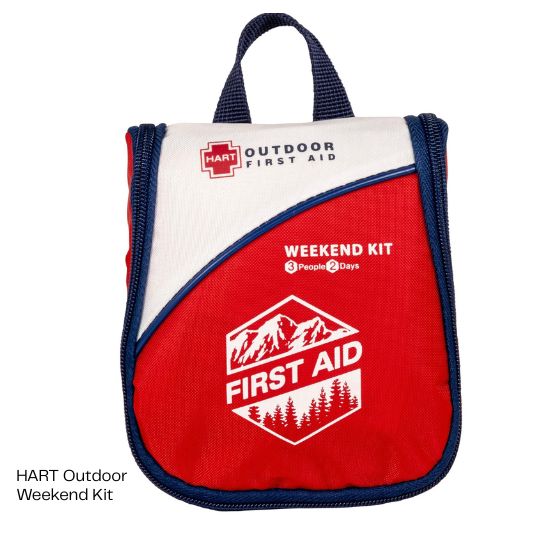
HART Outdoor Weekend First Aid Kit – Whether you buy a preassembled kit like the Weekender, or build your own, a solid first aid kit is essential in the backcountry.
At a minimum, your kit should include: Blister treatment (Blister Patches, Leukotape, or Moleskin), Bandages and Gauze, Antiseptic Wipes, Tweezers (for splinters or ticks), Pain Relievers (like ibuprofen), Antihistamines (for allergic reactions).
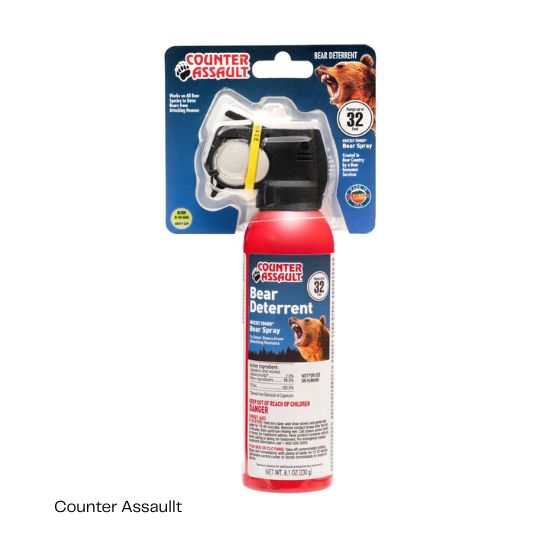
Counter Assault Bear Spray – Bear spray is a powerful deterrent and should be carried any time you’re hiking or camping in grizzly territory – places like parts of the Rockies, Alaska, or Canada.
It’s not just for peace of mind; it’s proven to be highly effective in deterring aggressive bears when used properly. Keep it easily accessible, like in a holster on your hip or backpack strap, and know how to use it before you hit the trail.
In areas with only black bears, good food storage and awareness are usually enough, but it never hurts to double-check local guidelines.
SUN AND INSECT PROTECTION
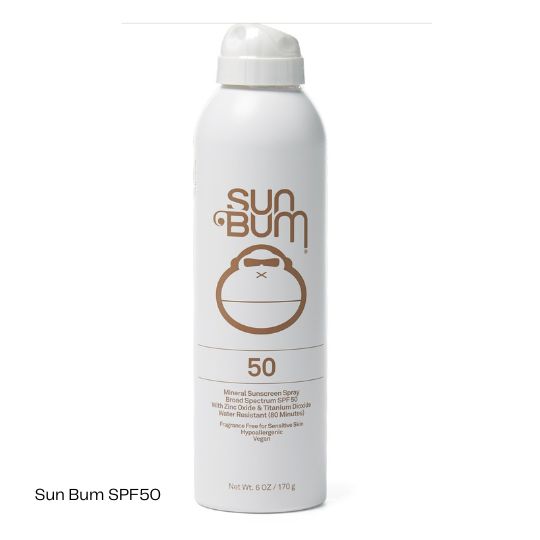
Sun Bum Spray SPF50 – I discovered Sun Bum a few years ago, and it’s been my go-to ever since. I love it because it’s lightweight, non-greasy, and fragrance-free, which makes it ideal for sensitive skin.
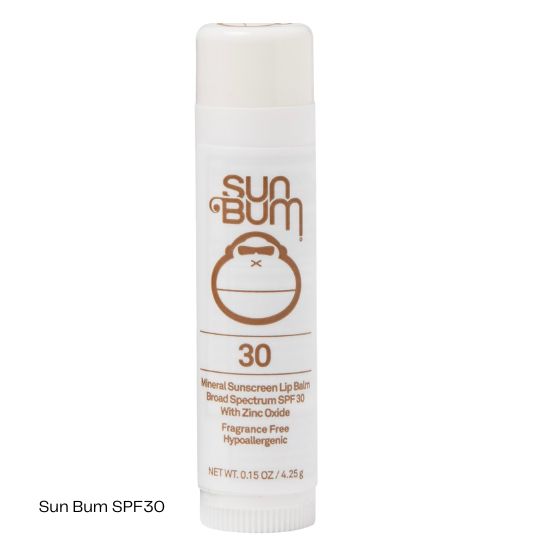
Sun Bum Lip SPF 30 – I also never hit the trail without a Sun Bum lip balm in my pocket. It’s a small essential that makes a big difference, especially in dry, windy, or sunny conditions. If you like a little variety, Sun Bum also makes a range of scented lip balms, from coconut to watermelon.
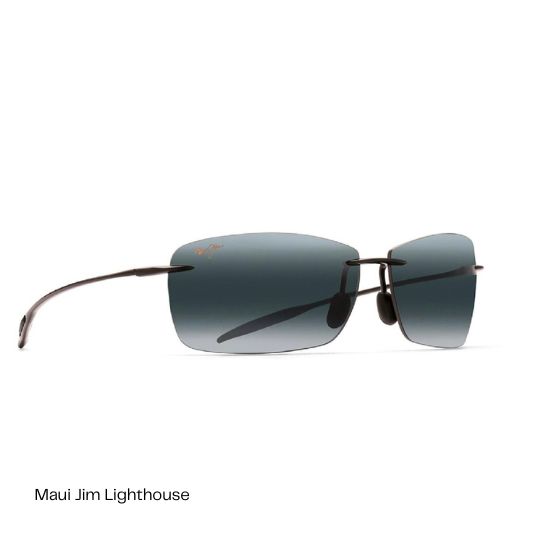
Maui Jim Lighhouse Sunglasses – When choosing sunglasses for hiking and backpacking, go for a lightweight frame for all-day comfort, and make sure the lenses and frames are durable enough to handle scratches and impacts. Polarized lenses are a game-changer as they cut down glare from water, snow, and bright rock, helping to prevent eye strain and headaches on long days outside. I found the perfect match in the Maui Jim Lighthouse sunglasses. I was initially a bit skeptical about their durability, but after 8 years of hard use, they’re still going strong.
Depending on where and when you’re hiking, bugs can be more than just annoying; they can make life miserable. Mosquitoes, black flies, and ticks are common in many backcountry areas, especially in summer or near water. Bug protection can make a huge difference in your comfort and sanity, and in some areas, it also helps protect against tick-borne diseases.
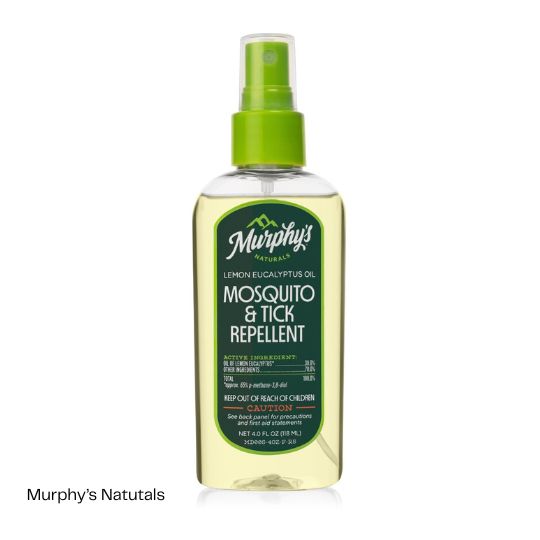
Murphy’s Naturals Mosquito and Tick Repellent – is made from natural ingredients that won’t harm your gear – something I now care deeply about after learning the hard way.
While hiking the John Muir Trail, both our inflatable sleeping pads mysteriously started deflating. Turns out, DEET from our bug spray had gotten on them, creating countless micro holes. We were still about a week from civilization. Sleeping on rocky ground with half-inflated pads was downright miserable.
Since then, I’ve switched to natural repellents like Murphy’s Naturals, and I always carry a closed-cell foam pad as backup. Lesson learned.
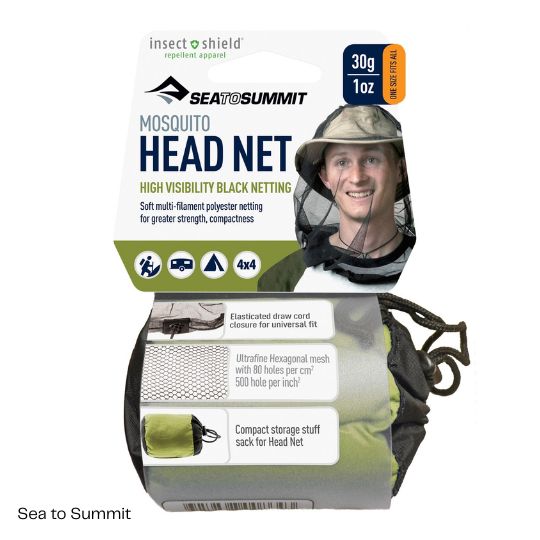
Sea to Summit Head Net – Head Net is a must-have for buggy conditions, especially in mosquito-heavy areas like alpine lakes or dense forests. It’s incredibly lightweight, packs down to nothing, and slips easily over a hat for full coverage. When the bugs are relentless, this tiny piece of gear makes a huge difference in keeping you comfortable and bite-free.
NATURE’S CALL KIT
When nature calls in the backcountry, it’s important to follow good Leave No Trace practices. Always pack out used toilet paper – yes, even the dirty stuff. Never bury it, as animals may dig it up.
Different areas have different rules. In many places, digging a cat hole (6–8 inches deep, at least 200 feet from water, trail, and camp) is fine. But in some sensitive or high-use areas, like alpine zones or desert environments, cat holes are not allowed and you’ll need to carry a wag bag and pack everything out.
Always check the local regulations before you go. It’s not the most glamorous part of hiking, but it protects the environment—and keeps trails clean for everyone.
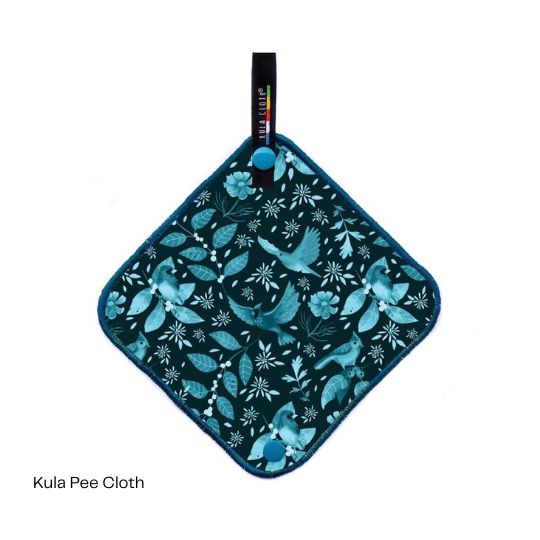

Kula Pee Cloth – The KULA Cloth is one of those small-but-essential items I never hike without. It’s reusable, antimicrobial, dries quickly, and clips right to the outside of my pack. A big win for hygiene, sustainability, and cutting down on toilet paper waste in the backcountry.
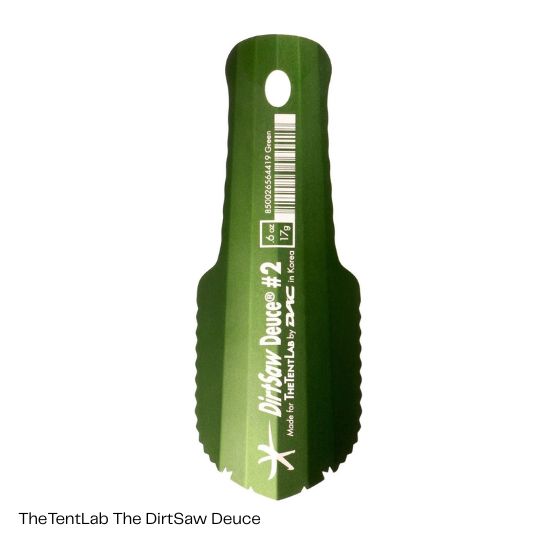
TheTentLab The DirtSaw Deuce Trowel – TheTentLab DirtSaw Deuce Trowel is my go-to tool for digging catholes in the backcountry. It’s incredibly lightweight, tough enough to handle rocky soil, and the serrated edges make digging faster and easier. A small but essential piece of gear for Leave No Trace bathroom practices.
Sea to Summit Wilderness Wipes – are taple in my backcountry hygiene kit. They’re soft, unscented, and thick enough to actually get the job done, whether you’re wiping off trail grime or… handling business after nature calls. Biodegradable and gentle on skin, they’re a great way to freshen up when showers are a distant luxury.
OTHER NECESSITIES


Nitecore NU25 Headlamp – my go-to headlamp for all backcountry adventures. It’s ultralight, USB-rechargeable, and surprisingly bright for its size. I love that it has multiple light modes, including a red light. The simple design and built-in battery make it easy to use and maintain, no fumbling with spare batteries in the dark.
Black Diamond Spot 400 – excellent headlamp option that costs a bit less than the Nitecore NU25. It delivers up to 400 lumens of power with multiple beam settings, so it’s strong enough for hiking, camp chores, and night navigation. It’s also IPX4 weather-resistant, easy to use even with gloves, and runs on standard AAA batteries, which can be a plus during extended trips when you can’t recharge.
Cascade Mountain Tech Trekking Poles – trekking poles are great for reducing strain on your knees during long descents and giving extra support when your pack is heavy. Where they really shine for me is during water crossings – having that extra balance point makes a big difference. The Cascade Mountain Tech carbon fiber poles are lightweight, dependable, and surprisingly affordable. If you time it right, you can find them at Costco for around $30, which is an absolute steal for carbon fiber poles.


INIU 22.5w Power Bank – Having a reliable power bank in the backcountry is essential, especially when using navigation apps, taking photos, or relying on electronics like headlamps or satellite messengers. I currently use the INIU 22.5W Power Bank, which has been working great for my needs. Other solid options we’ve used extensively and found reliable are Nitecore and Anker. Whichever you choose, make sure it holds enough charge for the number of days you’ll be out and is tough enough for trail life.
Leatherman Skeletool CX – A good multi-tool is one of those items you might not use every day on trail but when you need it, you really need it. Whether it’s tightening a screw on your stove, cutting tape or cord, or opening a tough food package, having a multi-tool can save the day. I’ve trusted my Leatherman for years now and it’s held up to just about everything the backcountry can throw at it. Durable, compact, and incredibly useful—it’s always worth the pack weight.
OPTIONAL ITEMS
If you’ve got the space and don’t mind a bit of added weight, bringing a few comfort items can seriously boost your overall experience out there. Sometimes it’s the small things that make camp feel just a bit more like home.
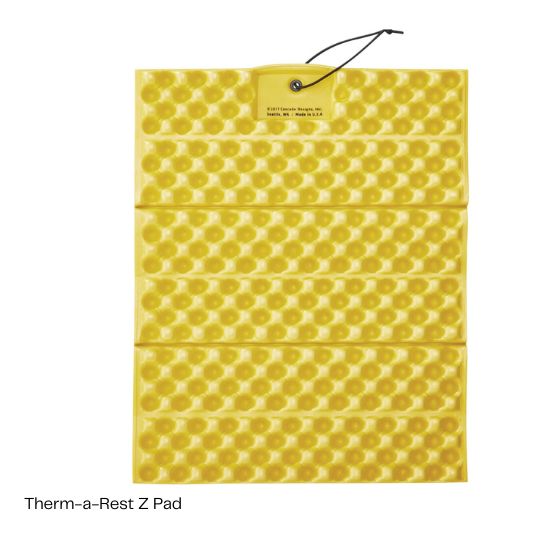


Therm-a-Rest Z Pad – The Therm-a-Rest Z Pad is one of those little luxuries that makes a big difference. Having something cushy and insulating to sit on at camp is so nice, especially when the ground’s cold, rocky, or wet. After a rainy day, it’s a lifesaver for creating your own dry spot to rest.
Helinox Chair Zero – the ultimate treat-yourself item in camp item. After a long day of hiking, having an actual chair to sit in (instead of a rock or the ground) feels like pure luxury. It’s surprisingly light and packs down small, making it a comfy upgrade that doesn’t add much weight. If comfort at camp matters to you, this little chair is worth every ounce.
Black Diamond Moji Lantern – Your headlamp will handle everything just fine, but if you want a cozy glow for cooking, journaling, or just chilling in your tent the Moji Lantern dds just the right vibe after the sun goes down.
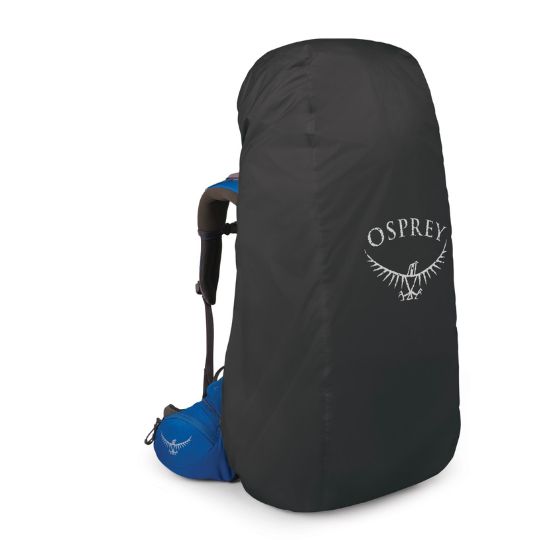

Osprey Pack Cover – Keeping your essentials dry in the backcountry is super important, and a pack cover can help with that! If you want to keep your backpack itself a bit drier in the rain, it’s definitely worth considering one. Some backpacks come with a cover, others don’t, just remember that even the best cover won’t make your pack fully waterproof. That’s why I wouldn’t rely on it alone.
Personally, I use a compactor trash bag as a liner inside my backpack. It’s cheap, lightweight, and has never let me down, even in the heaviest downpours.
So… to cover or not to cover? In the end, it all comes down to personal preference. In my opinion using a compactor bag is one of the easiest and cheapest ways to save money on outdoor gear.
Nomadix Ultralight Towel – quick-drying towel that’s perfect for adventures where water is part of the plan. If you’re hiking near alpine lakes or planning dips along the way, it’s definitely a nice-to-have. For short weekend trips, I usually just bring a bandana to save weight. But on longer treks, especially when I know I’ll be staying in hostels or mountain huts that don’t provide towels, this one always comes with me.
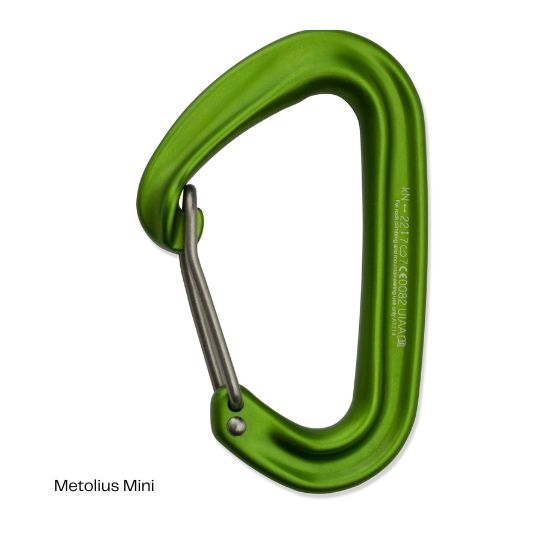
Metolius FS Mini Carabiner – This mini carabiner is one of those tiny gear items that ends up being surprisingly useful. I always bring a couple with me; they’re super handy for strapping things to my backpack, like a wet towel that needs to dry while I hike.
Final Thoughts on Outdoor Gear
There you have it—a peek into the gear that’s served me incredibly well over many years of exploring, from short weekend trips to epic thru-hikes. I really hope you find it helpful as you put together your own kit! If anything in this guide sparked a question, or if you just want to chat more about gear, don’t hesitate to ask in the comments below or DM me on Instagram at @gabihikes. I’m always happy to help!
And speaking of putting your kit together, my biggest piece of advice? Get familiar with your gear before you head into the backcountry. The last thing you want is to be fumbling with unfamiliar equipment when the sun is setting or a storm is rolling in.
Then, at the start of each backpacking season, take everything out and give it a once-over. Does your tent still pitch easily? Are there any tears in your sleeping bag? Does your stove light without a hitch? A quick gear check can save you a lot of headaches (and cold nights) down the trail.
I hope this guide helps you feel more confident and less overwhelmed as you build or refine your kit. Now, go forth and make some incredible memories out there!
What’s the first adventure you’re dreaming of taking with your new (or updated) gear?
HAPPY TRAILS!
Very informative. I agree with your choices. I have a lot of this gear but unfortunately, don’t have anyone to backpack with.
LikeLike